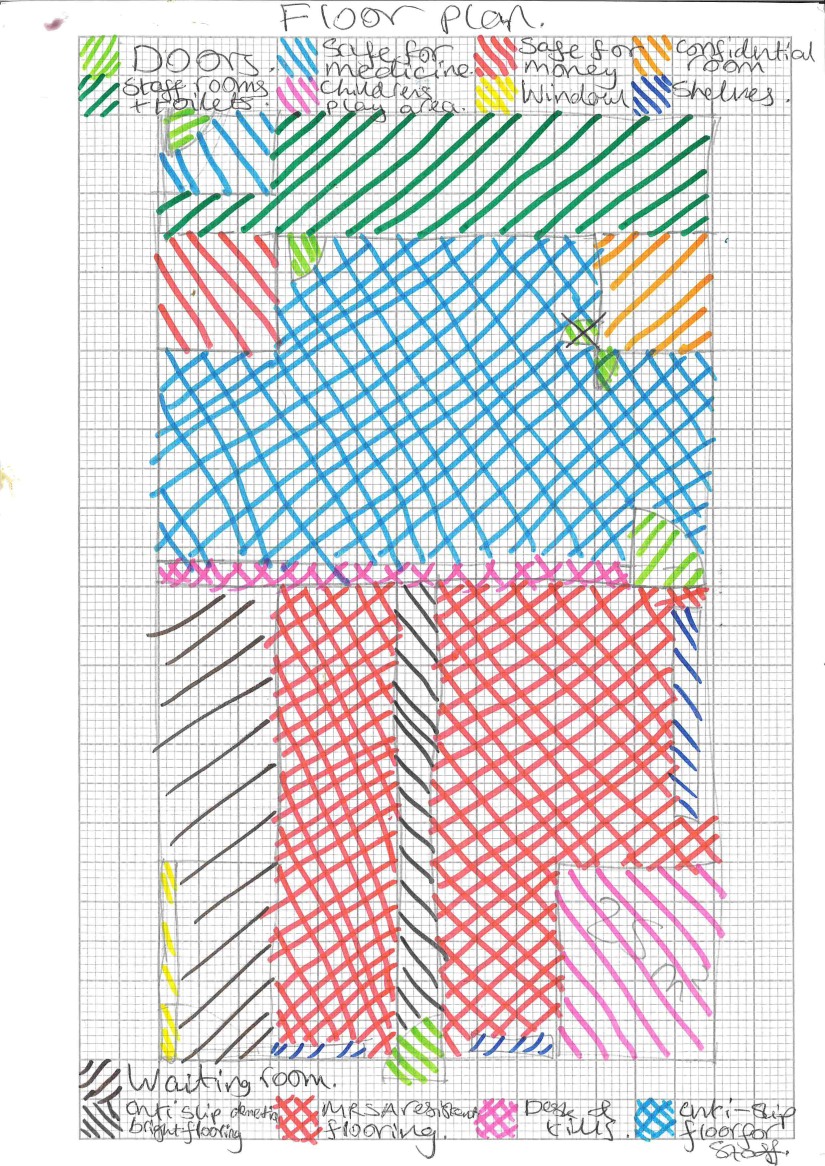
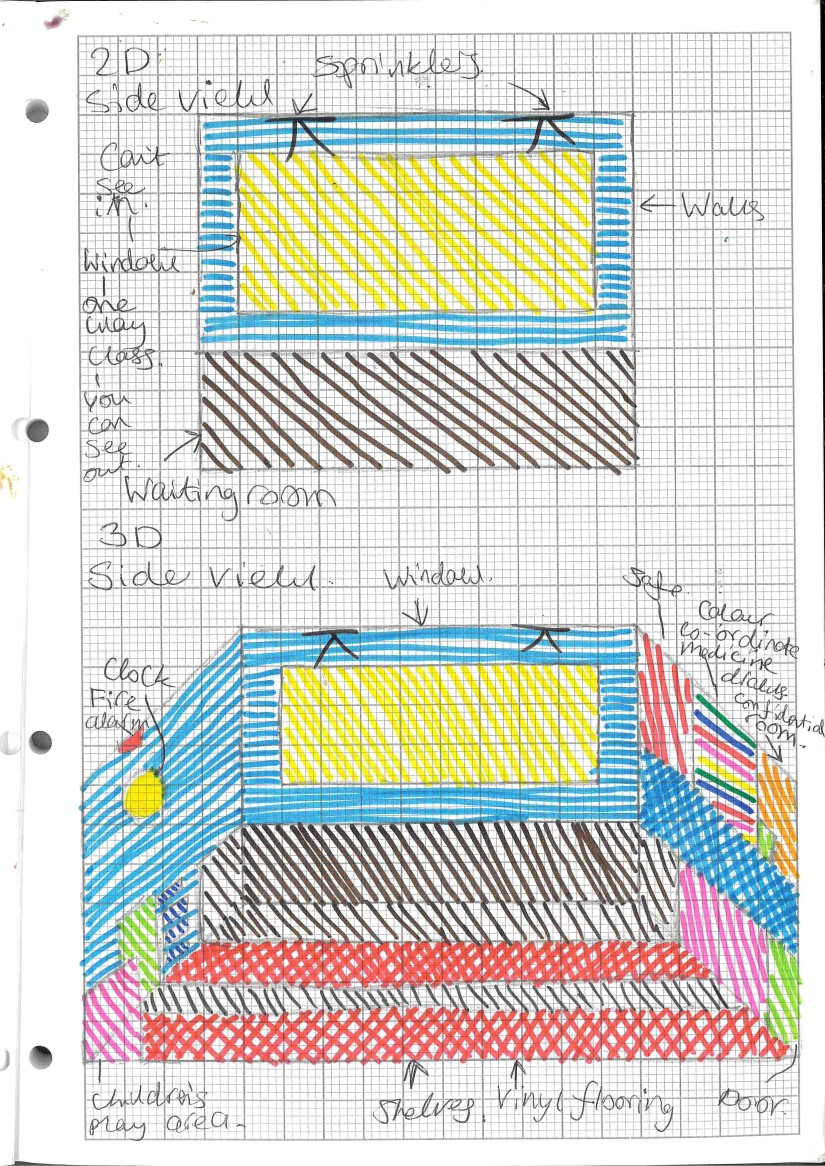
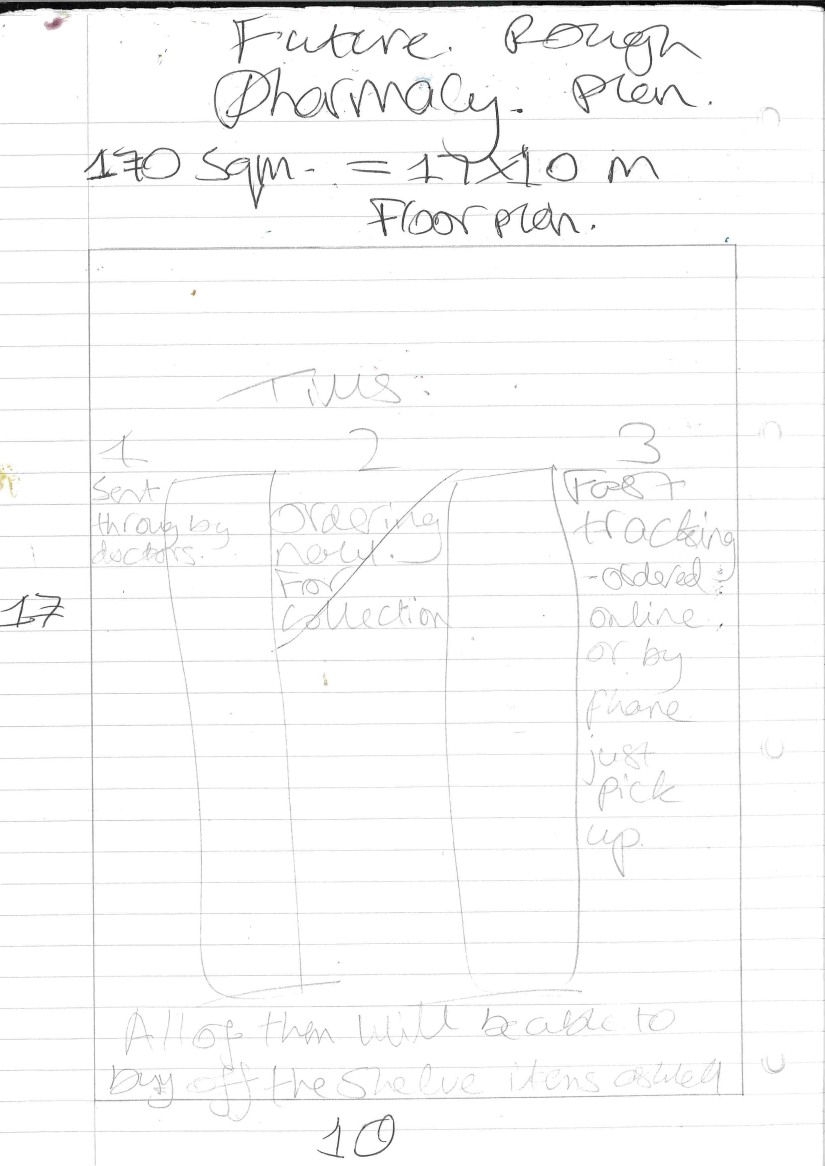
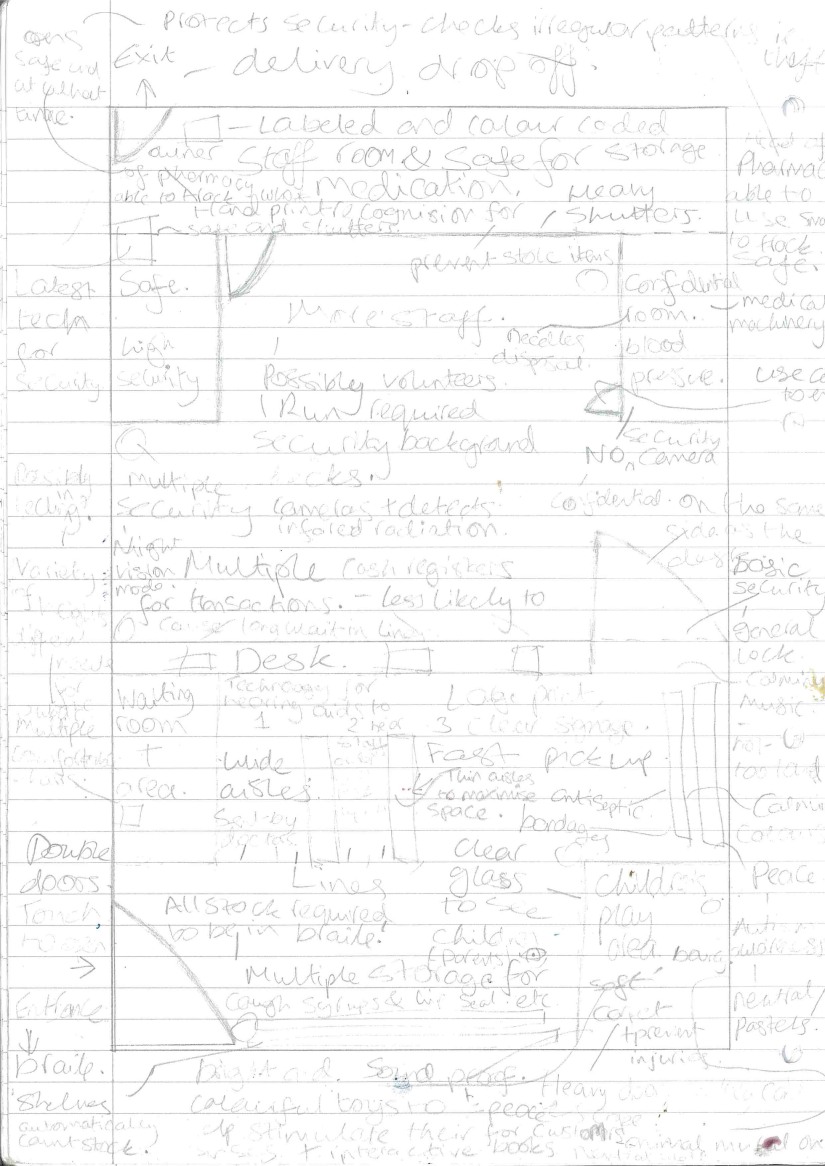
 I created this floor plan similar to my last one but I made a few minor changes like the positioning of the doors and also the children’s play area. I decided to create a key to show which areas I am using and for which purpose. By using a key I think that this makes the design look less messy because the key is around the border of the floorplan.
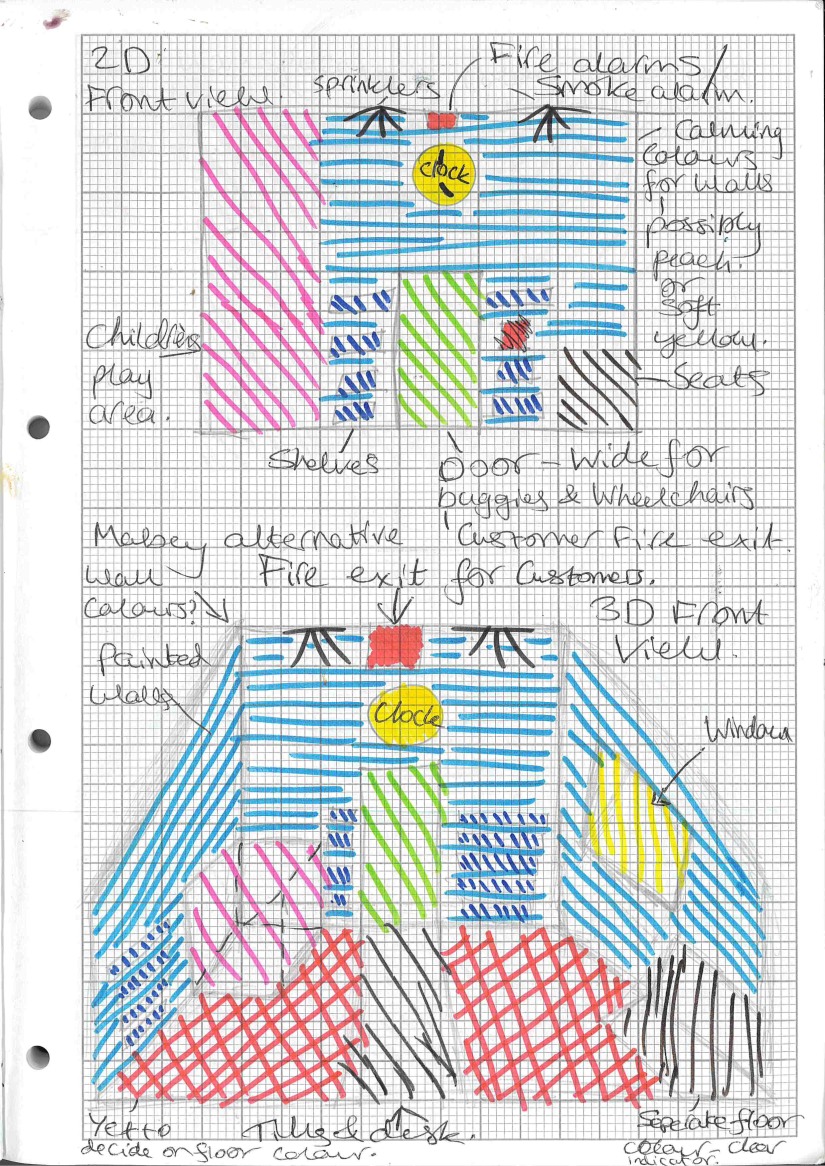
This is the first of my perspective drawings. I prefer perspective drawings to 2D drawings because they are easier to visualise. The key that I used for my floor plan has no correlation with the perspective sketches. I am not the greatest at drawing but I prefer drawing in two-point perspective than in sketches. One of my areas of weaknesses is drawing to scale, however with more practice I will be able to improve.
 From this point on I started to include specific materials and their properties that I would be using. This is mostly in the flooring to start off with because as part of my primary research I interviewed my dad, who’s a floor layer, to get this expert opinion.
 I was focusing on how each object looks in perspective to the others. I was aware that I wanted a large window but didn’t know how to show this against the waiting room. Looking back on it, I should have started to add measurements to my early experiments, even if I change my mind later on with the sizing.
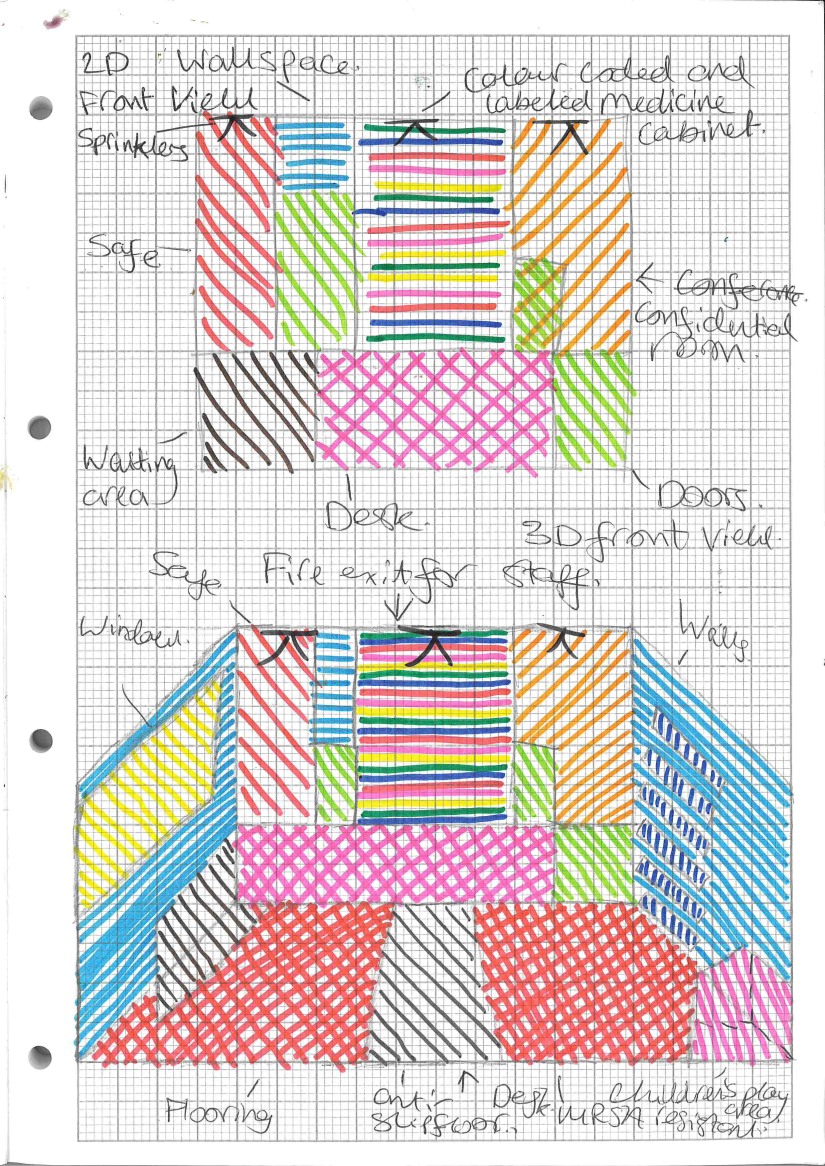
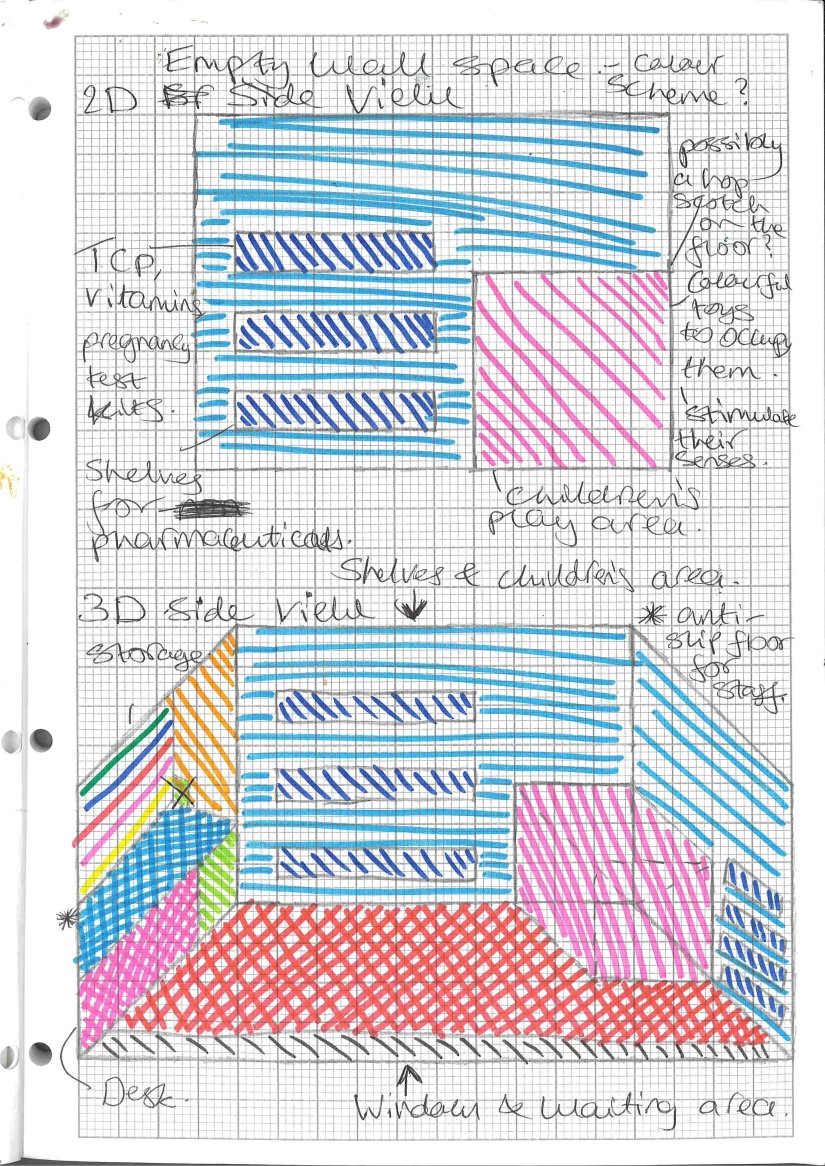 For this part of my design, I was focused on the products that would be sold. I was also starting to think about possible patterns on the floor for the children’s play area and the empty wall space. I wasn’t certain on what colour I wanted the walls but I was deciding on a colour scheme.
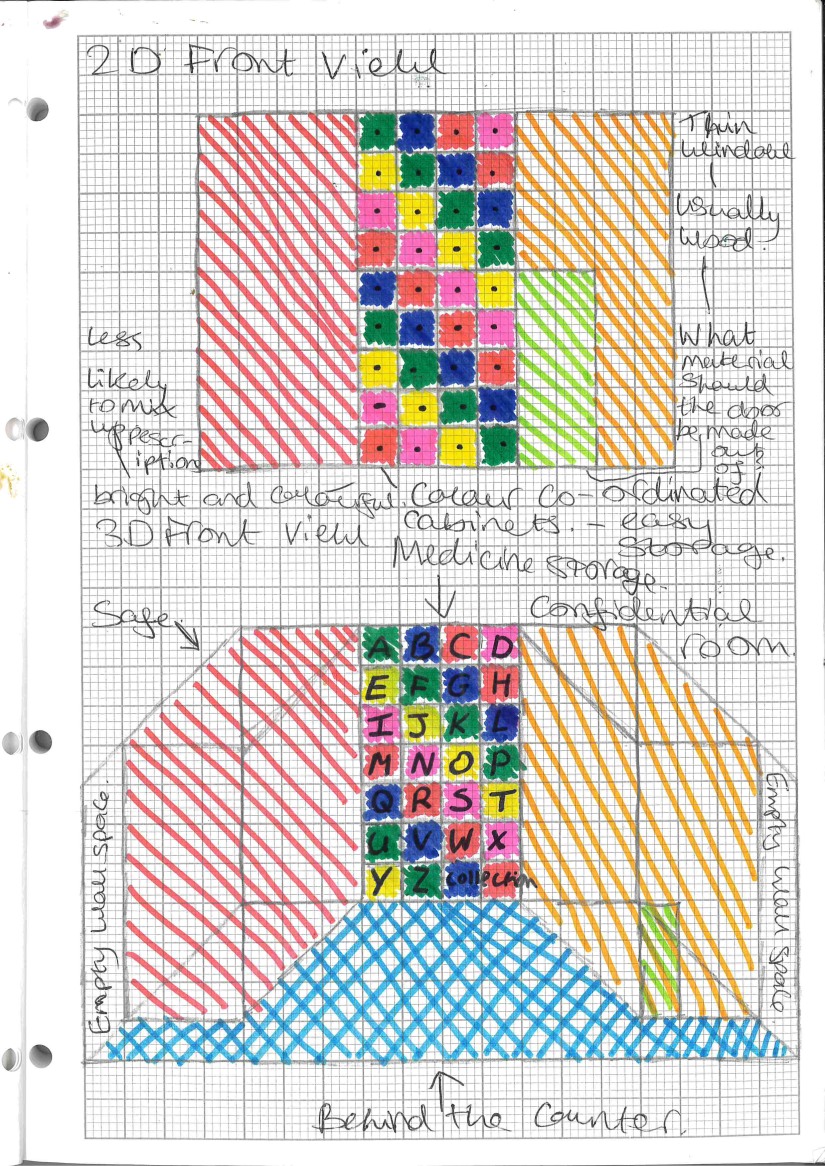 I want to make the pharmacy as organised and clearly labelled as I can, that is why I thought about having coloured shelves to store the patient’s medication behind the till I also wanted them labelled alphabetically. I think my second sketch is the best one I’ve created because it looks the best, Also because from this perspective you are able to see behind the counter and the shape of both the rooms.
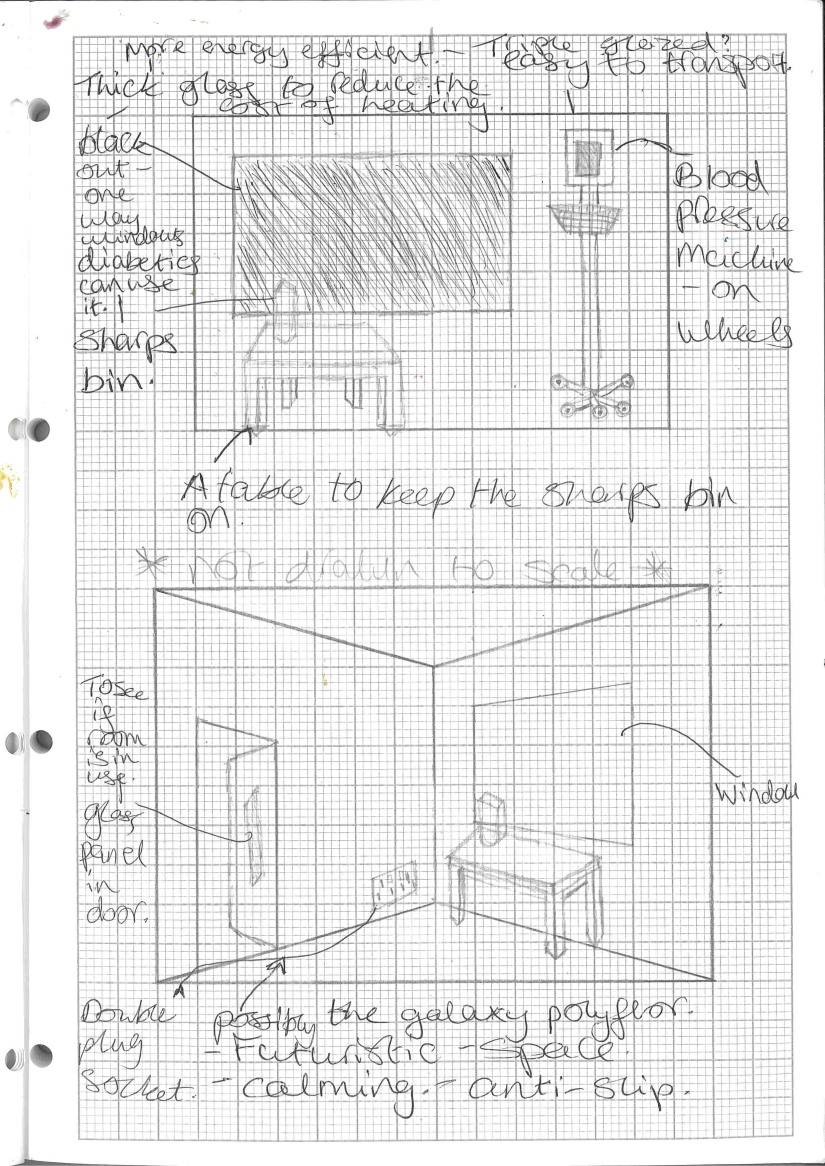 This is the only sketch from this perspective, I decided to do this to show the majority of the confidential room in one sketch and also because it is one of the smallest rooms available along with the toilet. I would’ve liked to sketch more ideas out to be able to visualize every room for the pharmacy. This room was particularly important to me because it is the room where customers can ask confidential advice to a member of staff, it can also be used to measure someone’s blood pressure or insulin levels and even used for mother’s to breastfeed their children. Compared to the toilet, staff room and the safe which is only accessible to the staff.

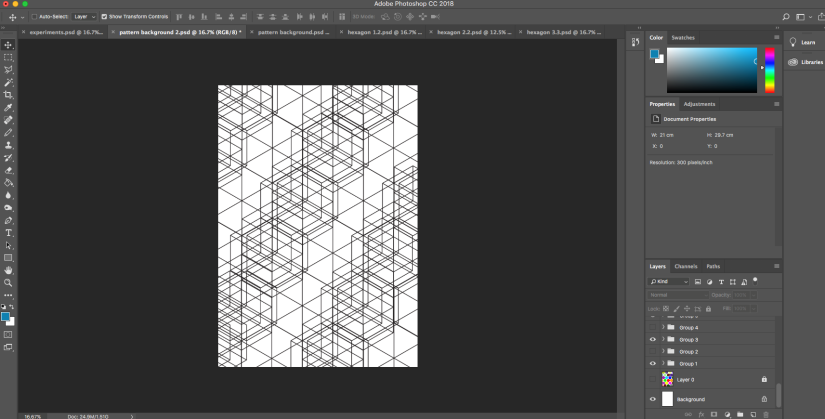
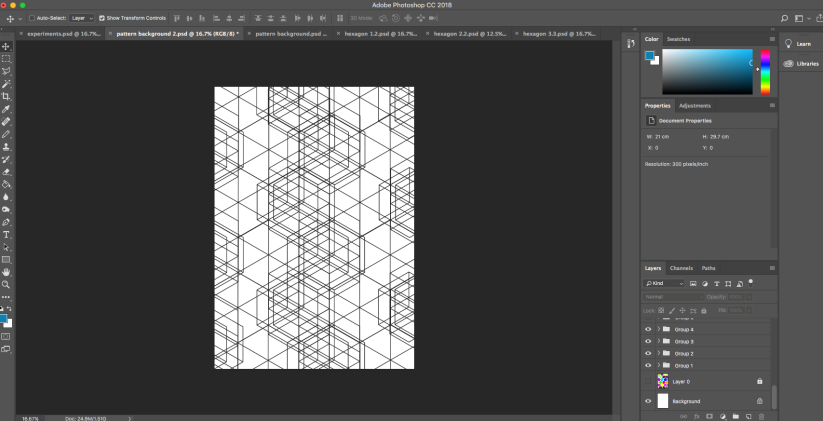
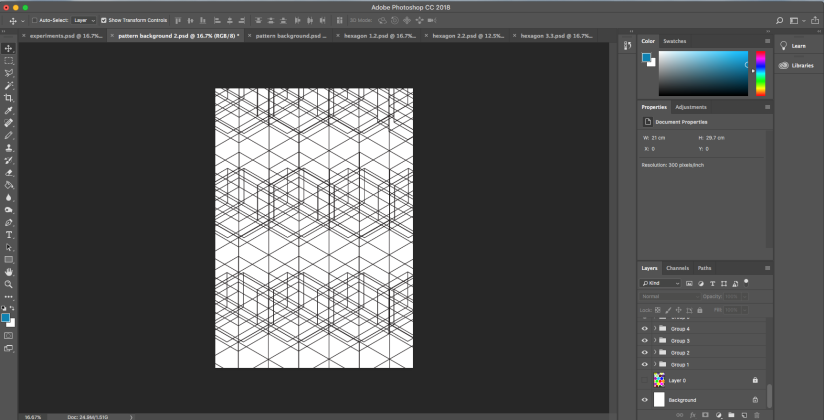
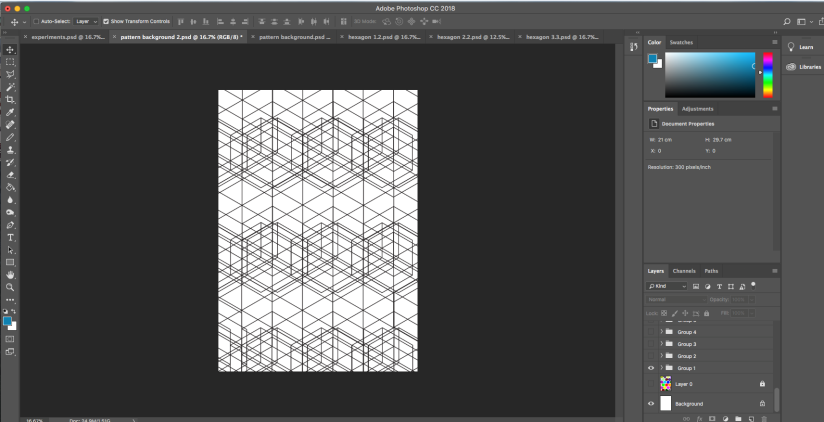
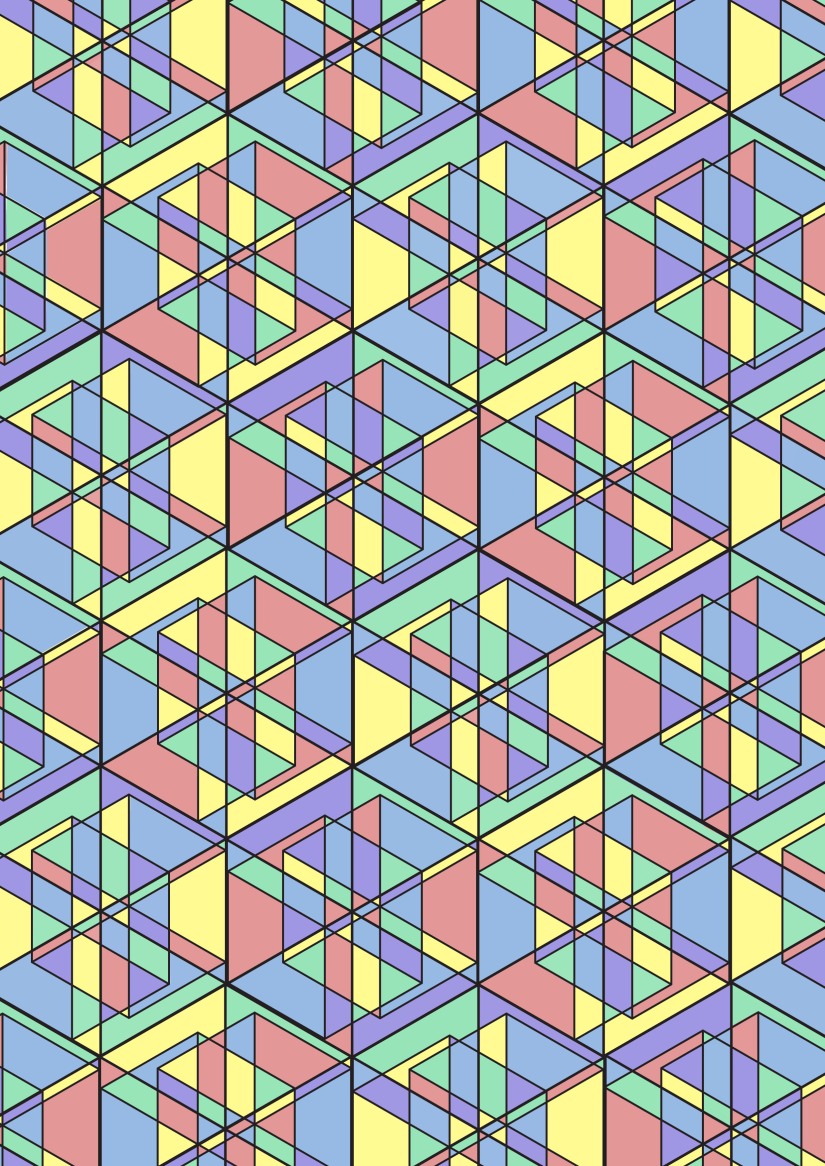
 I took inspiration from a geometric poster to create a pattern with the hexagons. To experiment I created 6 different patterns within the pattern. I then decided on my favourite patterns to turn into posters. I created each pattern only using hexagons. Some of which are in a variety of different shapes. I experimented on the placement of the hexagons to decide on the pattern that I liked the most.