https://unsplash.com/@fgiorgio

I started off with using the selection tool to select an equilateral triangle. I then copied and pasted the shape onto a new layer and flipped it horizontally.

I copied and pasted the triangle again but I didn’t flip the shape this time. I continued this process, making each triangle smaller.

I like the end result because it is a repetitive pattern and it was also easy to complete. I didn’t like how difficult it was to create a triangle shape using the selection tool, in order to do this I had to: create a triangle using the polygon shape tool, make a selection around the triangle and apply it to my first layer so I could copy and paste the shape. If I was to do this again I would experiment with different shapes.

https://unsplash.com/@jackofthearts

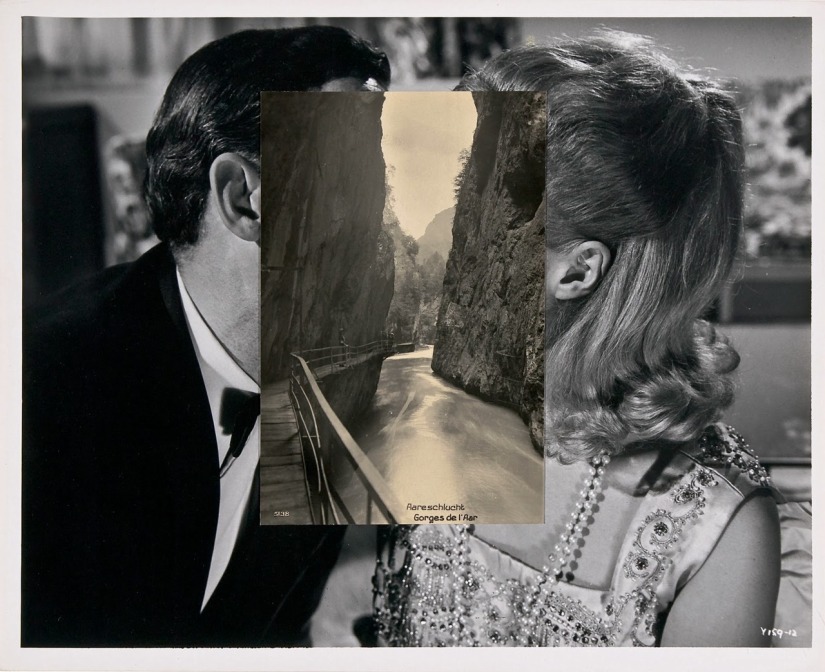
I used the rectangular marque tool to copy and paste the stairs. I then flipped the image vertically to join up the base of the stairs.

I then copied a section in the bottom left section and flipped it. I made the shape smaller and placed it in the centre of the page, I blended the layers together using the gradient tool and a layer mask.

I copied the last layer and enlarged it, I also made the foreground blend into the background using a gradient on the layer mask. I like the appearance of the end result as well as it having the appearance of a digital collage. I don’t like the harsh lines on the left side of the image, if I was to do this again I would apply another layer mask and soften the contrast between the wall and the sky.

https://unsplash.com/@bendavisual

I created a circle using the marquee tool where I then flipped it horizontally. I created the boarder by going onto edit then stroke whilst the shape was being selected.

I continued this process with different shapes inside the circle.

I like that the galaxy in the centre doesn’t match with the original image, however don’t like how large the pattern is compared to the people, if I was to re-do this I would make the design smaller so it looks as if it is in distance.