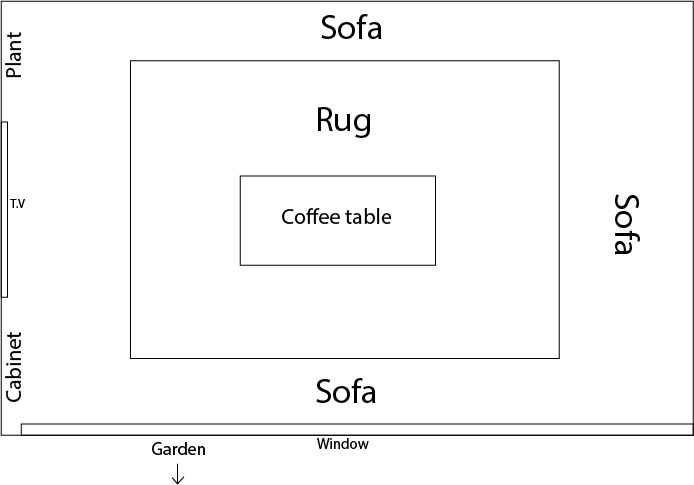
I started by creating a rough floor plan on Illustrator to show where I initially was planning on putting the furniture. From the start, I was certain about having a corner sofa. Through further research I found an online design software called SketchUp, this made it easier for me to create my designs because there were more tools and facilities I needed to make my work look professional. There was also a range of YouTube videos available to help familiarise myself with the program to aid my design process.
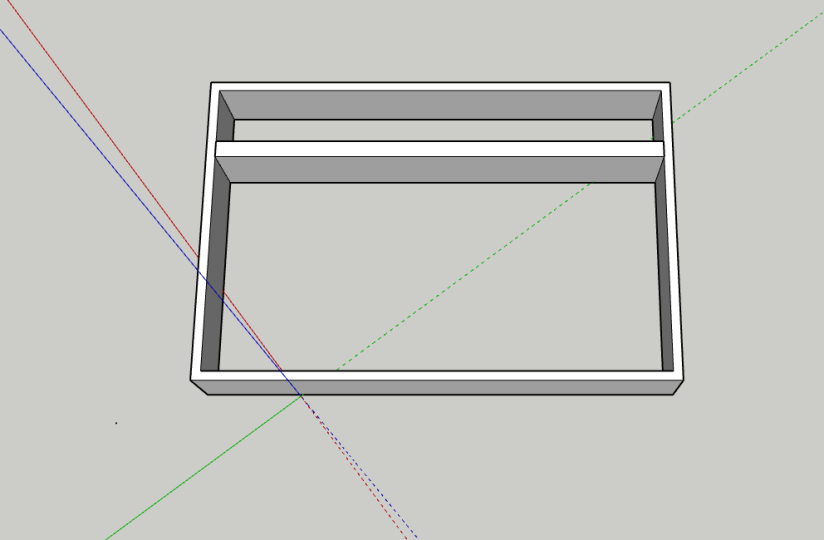
This was my first attempt where I didn’t even create the shape on the axis, this consequently made it more difficult to rotate the building and evaluate what I needed to improve on. I didn’t use all the tools to my advantage and I mainly used the pen tool and the shape tool. As a result of this, I didn’t create a floor but I did create another wall, which was unnecessary because I am only creating I room. I also didn’t take into account how people would get in and out of the room because I didn’t include a door frame.

By this point, I was slowly progressing with SketchUp, even though I already create a house for an experiment I still had a long way to go before I was happy with my work. I came across many problems throughout this project one of them being that I was struggling to create the window, which was one of the main focus points in my design. I overcame this with a series of trial and error techniques, one of them being using the offset tool to create a window panel and pulling it forward using the push/pull tool, however, I was pushing the window frame inwards which isn’t how window frames should look. This was easily fixed by using the command Z key to undo my mistakes and pull the selection forward.
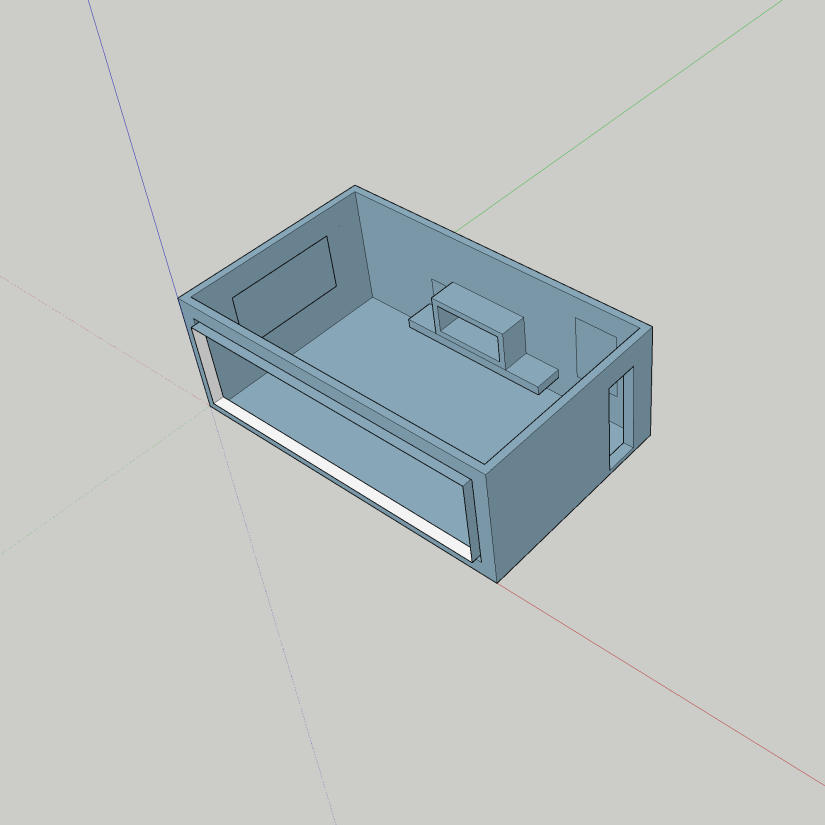
This was the initial shell of my living room before I included my furniture and accessories. I was still unhappy with the appearance of the window frame so I did further research into window frames and I came to the realisation that on the outside of a house the window is usually flush with the outside wall so I wanted to recreate this modern style in my design. This was quite simplistic as I was more confident in SketchUp by this point, so all that I had to do was rotate the room so that I could see it from the side on. From this point, I use the push/pull tool to bring the frame back into the wall. As part of my organisation, I marked out where I would potentially add artwork. I was going to include artwork above the fireplace, but from reading an article explaining whether or not I can, I decided not to. This wasn’t only based upon how safe it would be but also because it didn’t fit well on the wall. As well as potentially being an issue because this could be a risk if the artwork is highly flammable and too close to the flame. Although if I decided to use a gas fire then this wouldn’t be an issue.
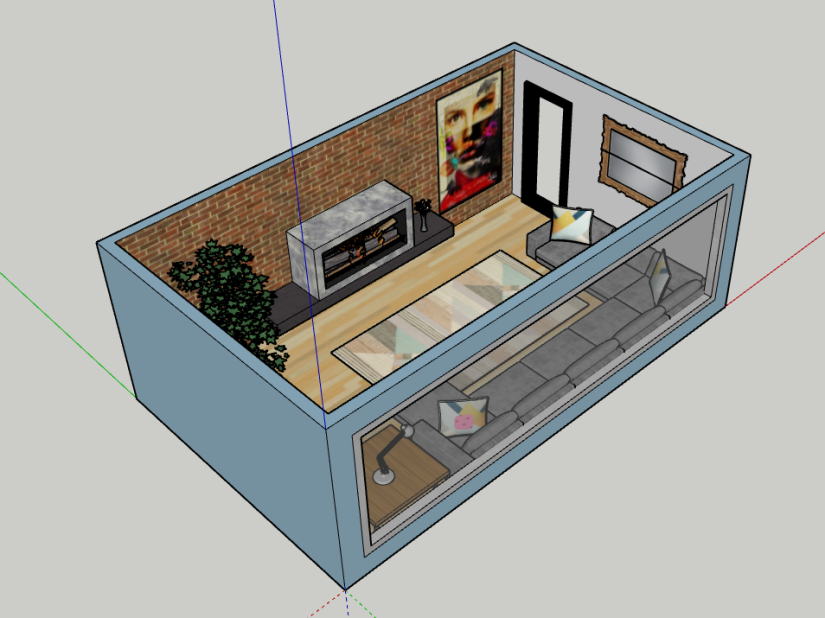
This is the end result with the added textures and accessories and I am very happy with how it looks. For the accessories I used the 3D warehouse on SketchUp to incorporate into my design because they were free and I was amazed by the range they had to offer, they were also very good quality and fit my design well. It was easy for me to add the different textures and colours to my design, all it required was me to select the area and click on the desired colour. However I did struggle with adding the furniture because once I changed the size I then had to rotate them so they fit where I wanted them to go this was hard because you have to orbit the design to get to the top of the object before you are able to rotate it, this was something that I kept forgetting to do and ended up rotating the wrong surface. Other than that I found it easy to decide on what I wanted to include in my design due to my thorough research beforehand.
